Restoration Tutorials
Step-by-step mentorship to become a watch restorer from home — in just 8 short lessons.
-

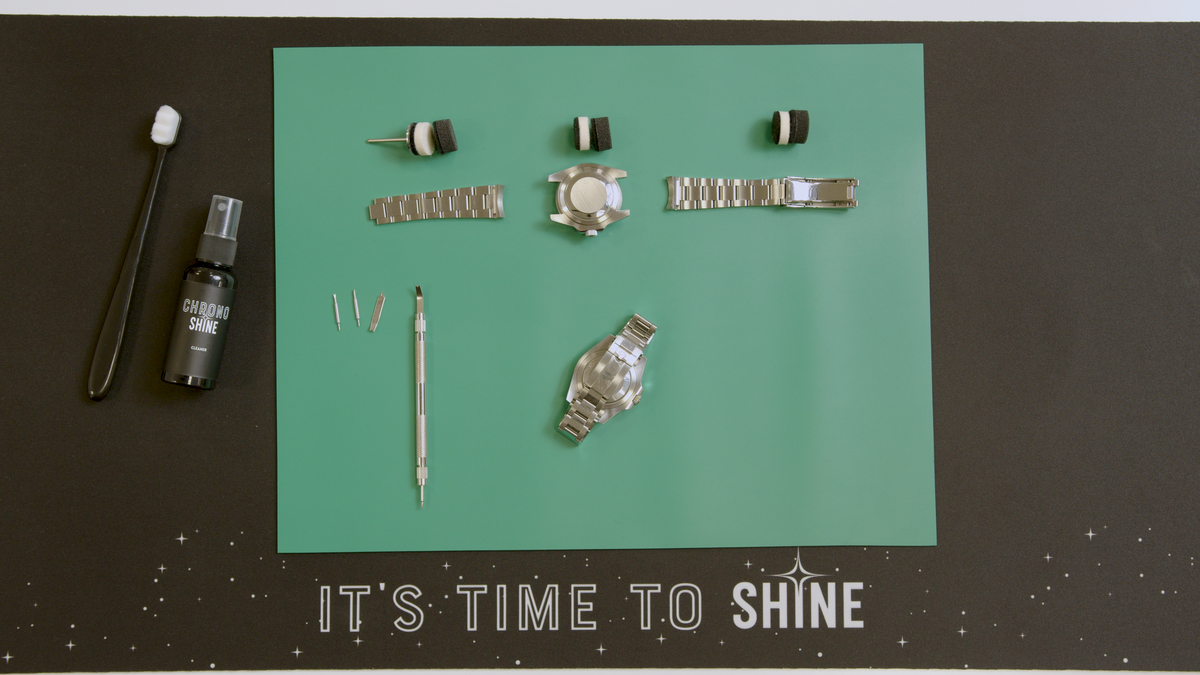
Lesson 1 - Introduction to Your Kit
-
Lesson 2 - Take your 'Before' photo
-
Lesson 3 - Set-up & Preparation
-
Lesson 4 - Deep Scratches? Magic Eraser!
-
Lesson 5 - Brushed Finishing
-
Lesson 6 - Mirror Finishing
-
Lesson 7 - The Last Steps
-
Lesson 8 - Take Your 'After' Photo

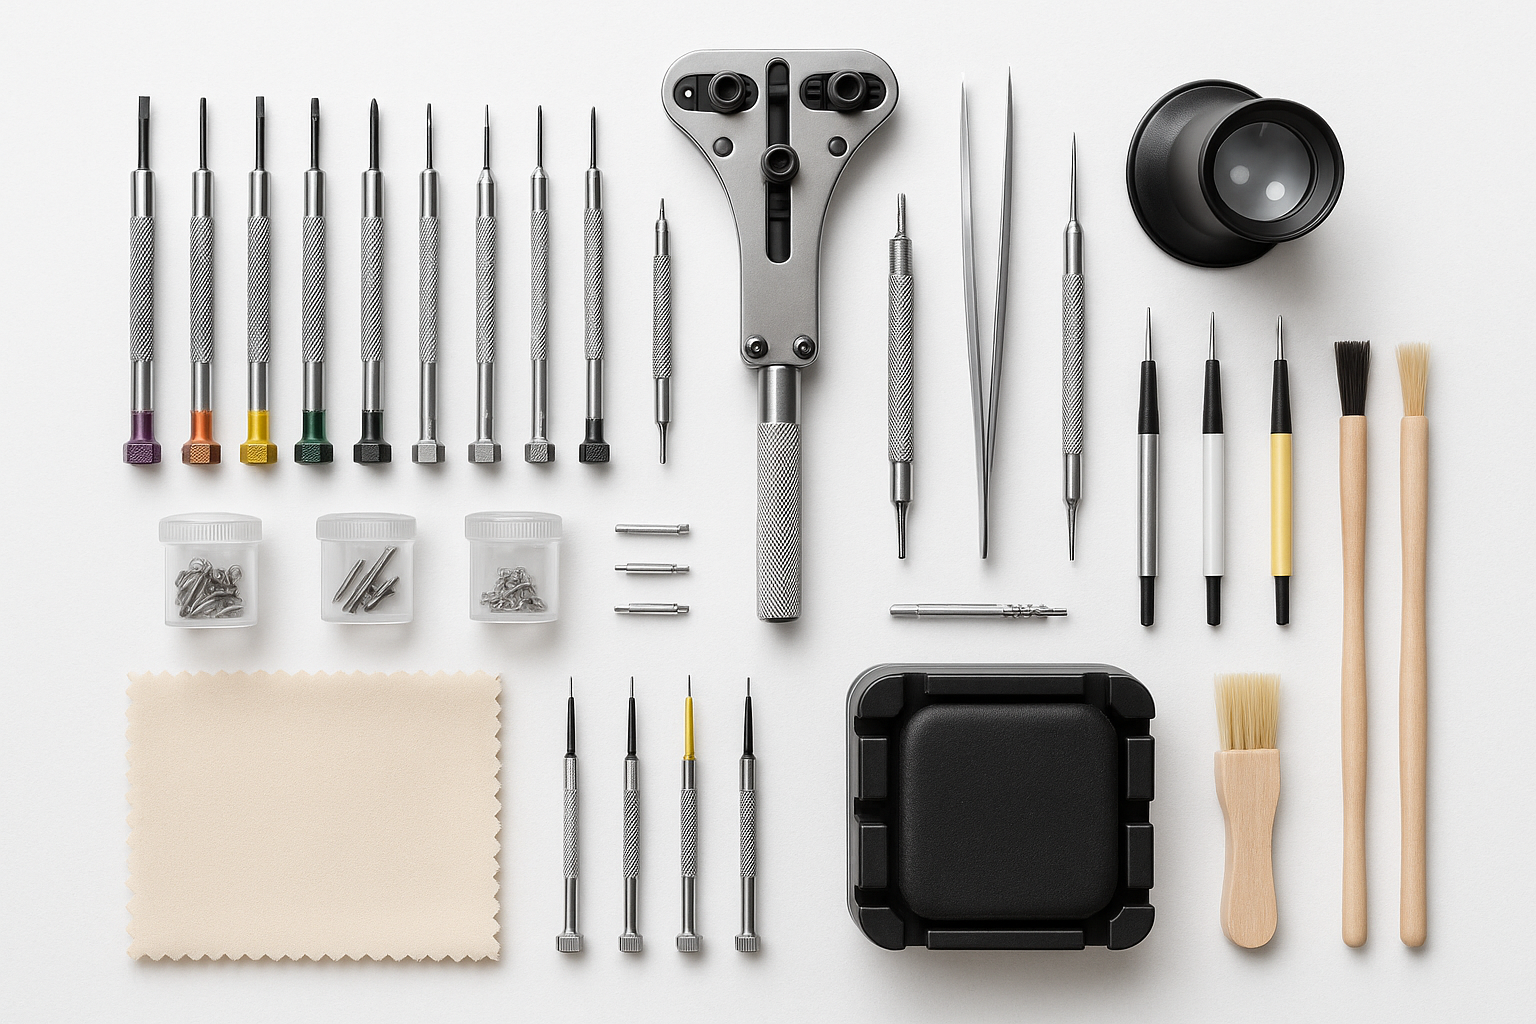
Lesson 1 - Introduction to Your Kit
- Before starting we recommend watching the full series to give you a complete view of all steps.
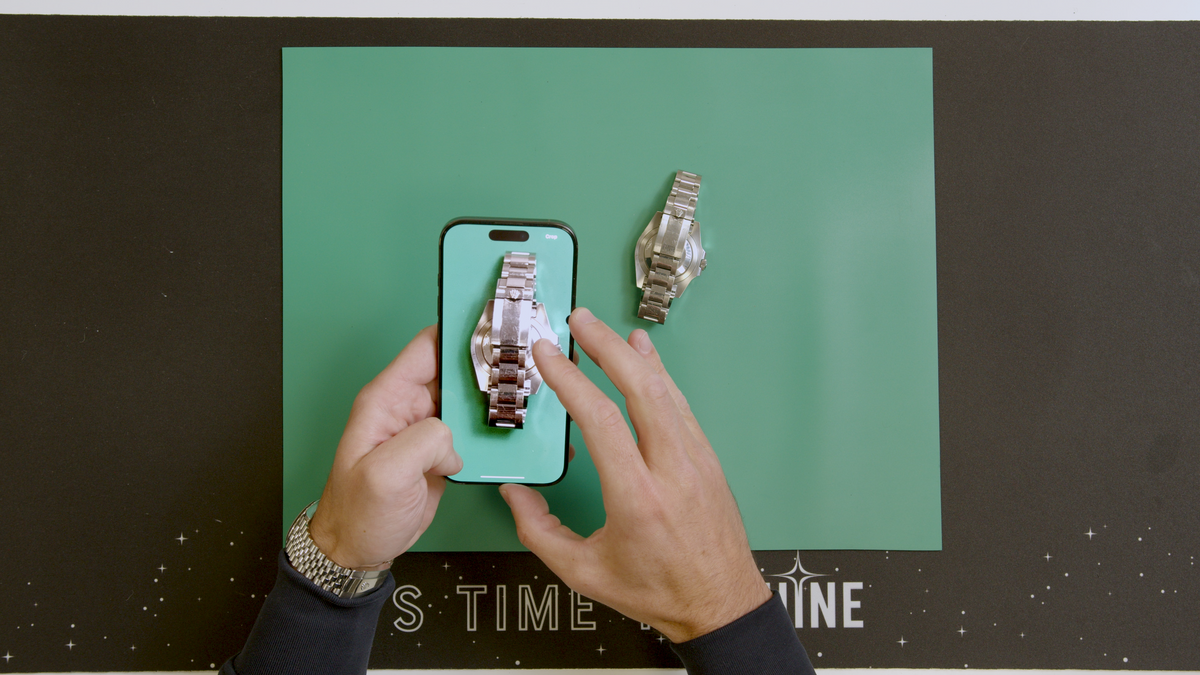
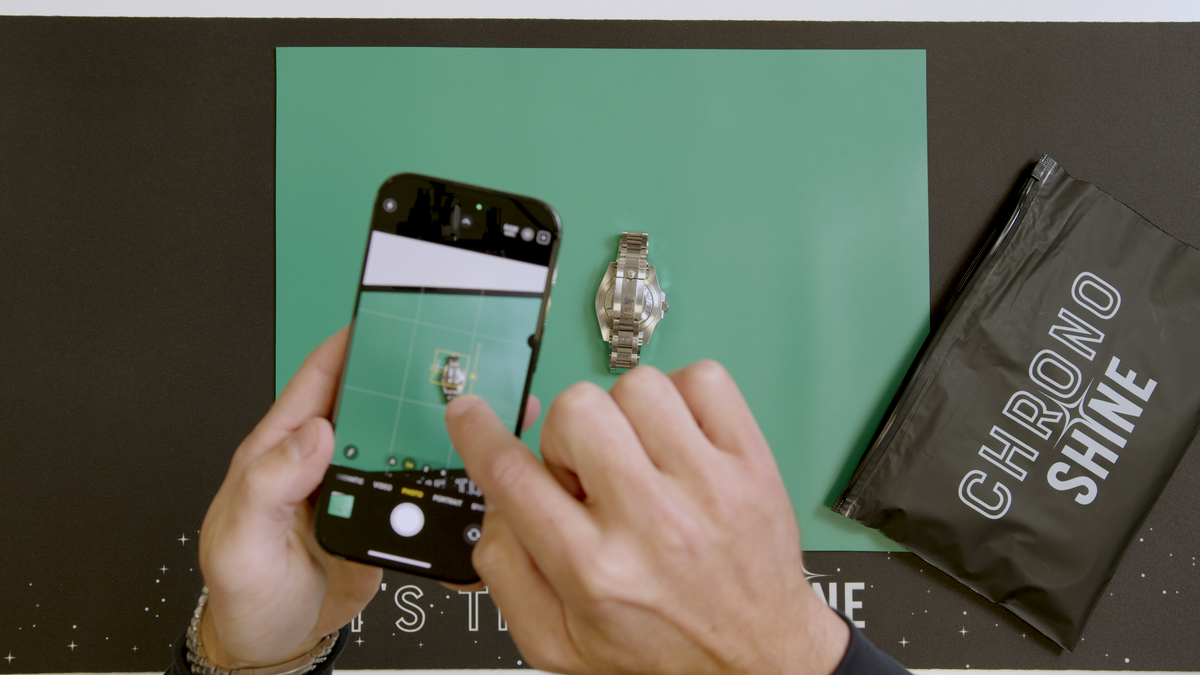
Lesson 2 - Take your 'Before' Photo
- Ensure you have a clean camera lens
- Play with different lighting and angles
- Try reducing exposure to reduce the harsh reflections
Lesson 3 - Set-up & Preparation
- Scissors are handy for trimming tape
- Ensure crown is screwed down tight
- No rush - take your time
Lesson 4 - Deep Scratches? Magic Eraser!
- If unsure, come back to this step later
- You can practise on a test piece
- Avoid edges to avoid softening any features
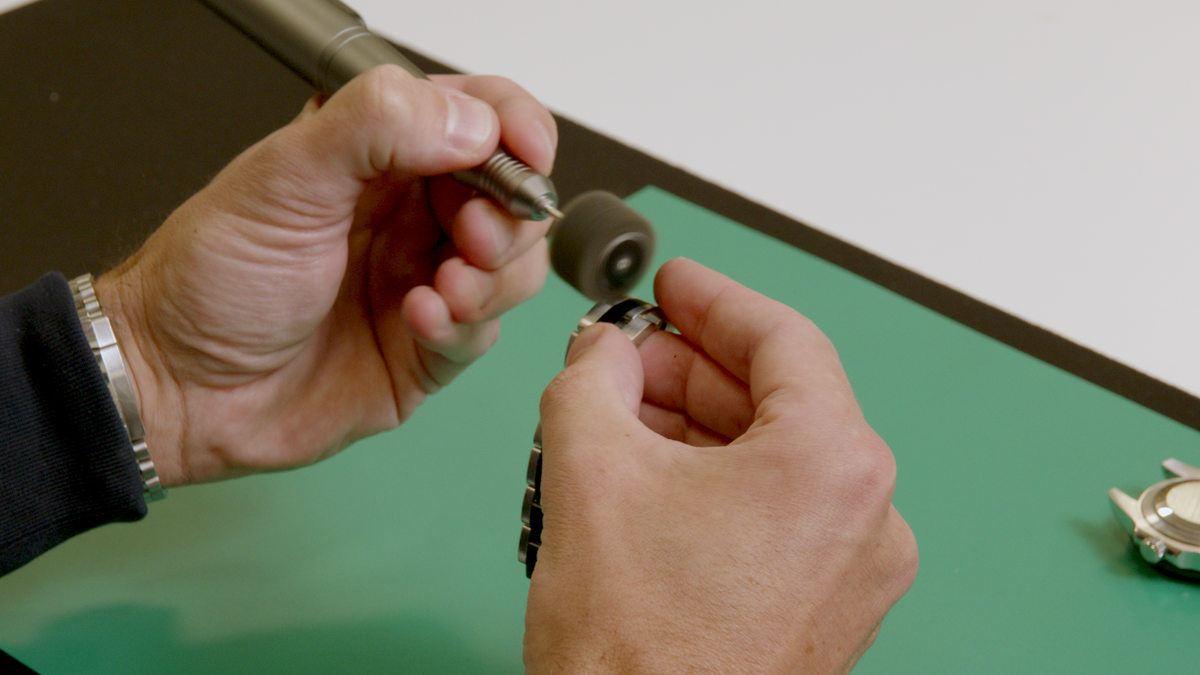
Lesson 5 - Brushed Finishing
- Tape off mirror polishes surfaces
- Brush strokes against rotary direction
- Always follow original grain direction
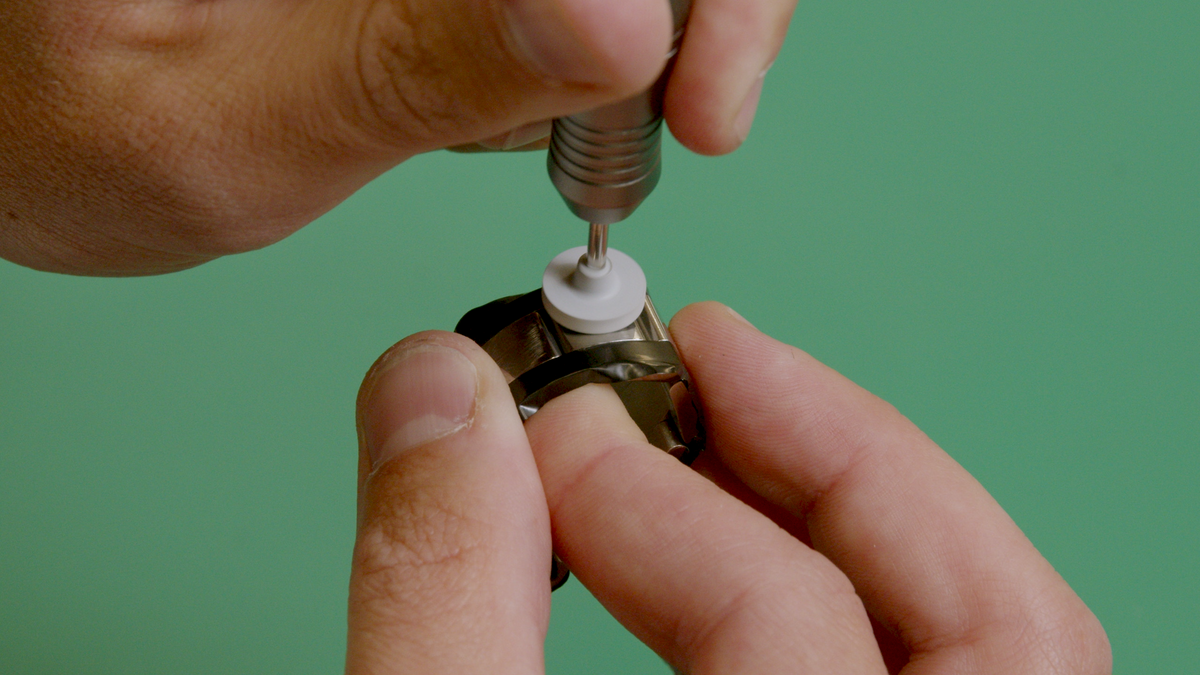
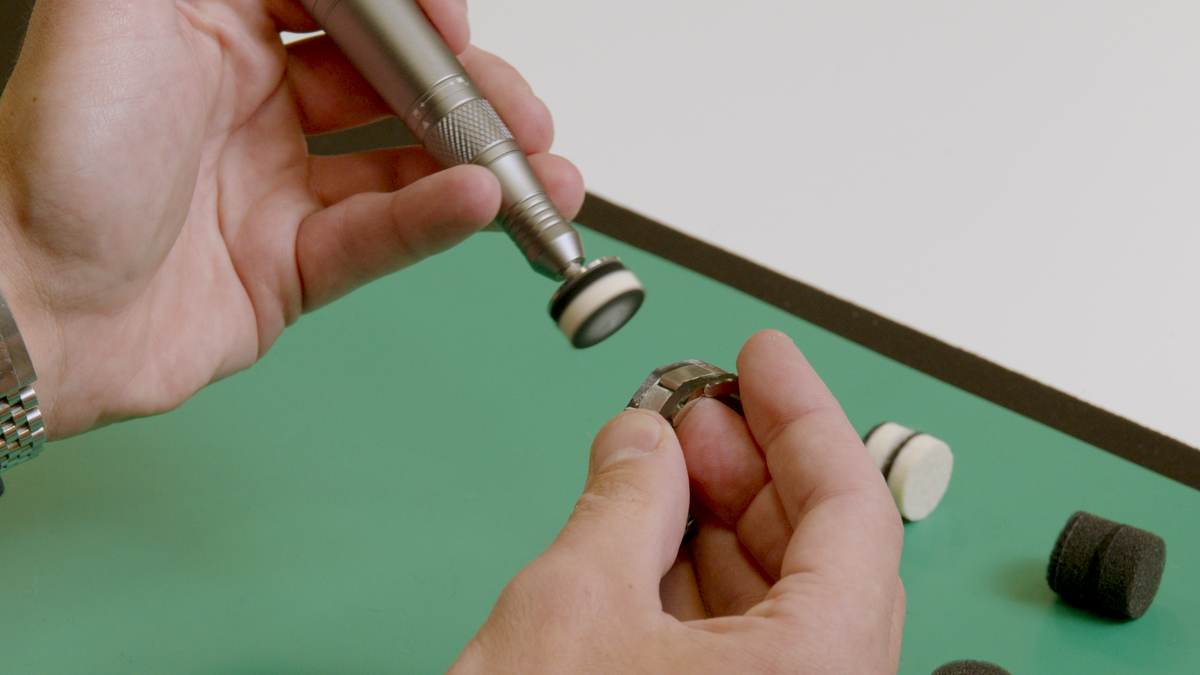
Lesson 6 - Mirror Finishing
- Tape off brushed surfaces
- Centre pad before using - test no wobble
- Only small dabs of polish required
Lesson 7 - The Last Steps
- No rush - take your time
- Don't use any dirty cloths after final wash
- Dry with paper towel to avoid water streaks
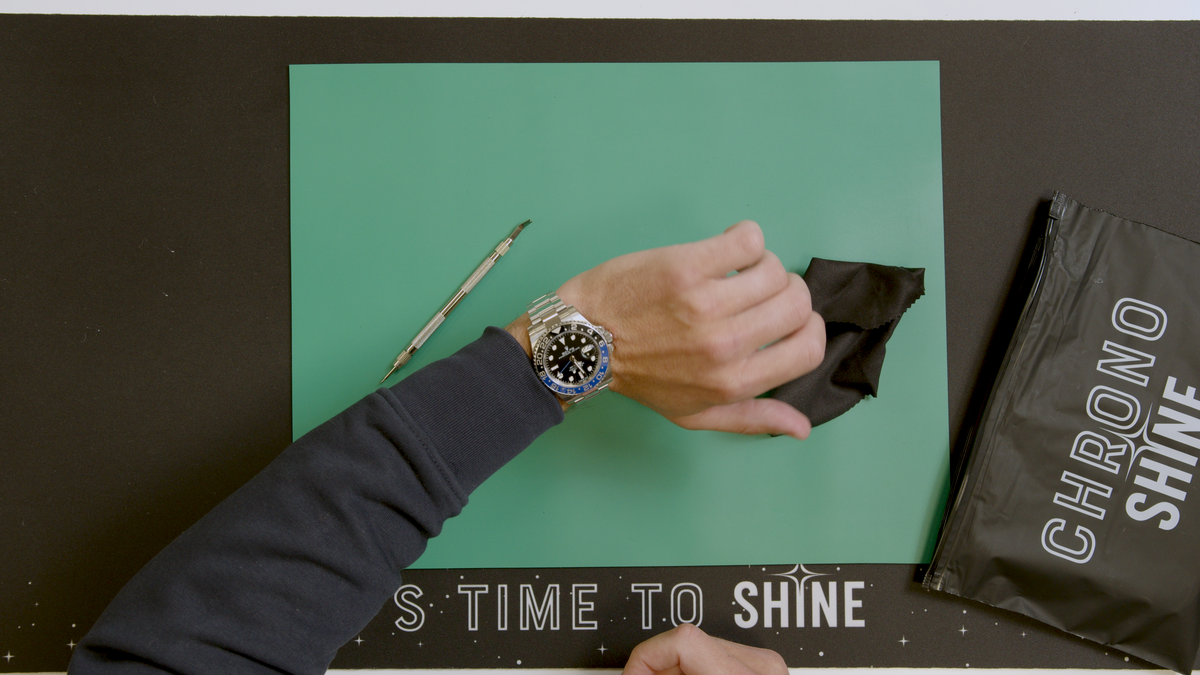
Lesson 8 - Take your 'After' Photo
- Ensure you have a clean camera lens
- Use same angle as 'Before' photo
- Check 'Before' & 'After' side by side